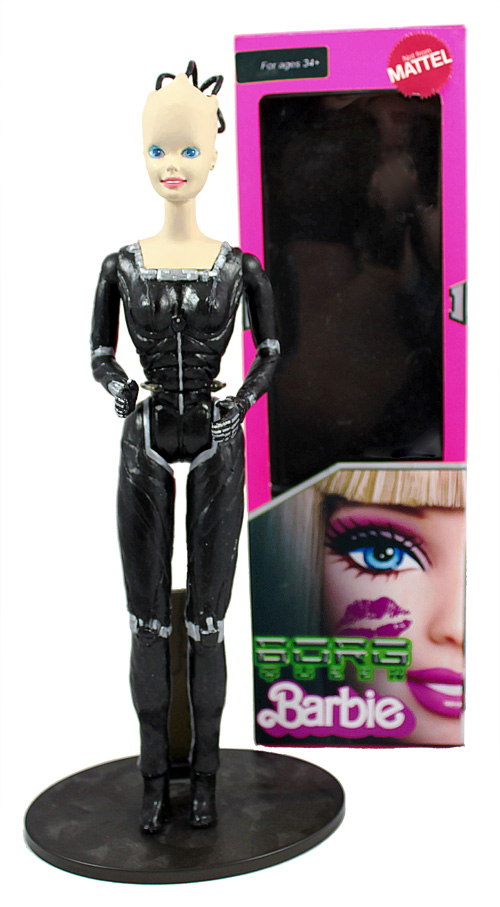
Sometimes you have such a crazy idea that you just have to make it happen. Presenting … Borg Queen Barbie.
For those non-Star Trek geekers who don’t know what ‘Borg’ are – read this now!
Making Of
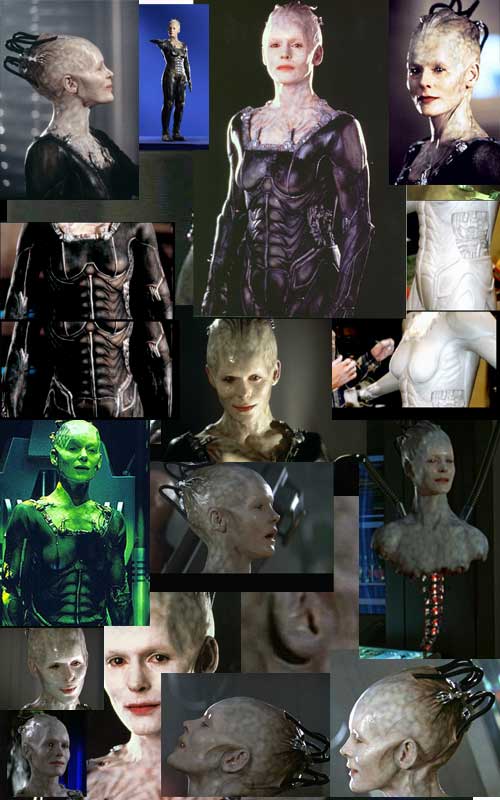
As with almost all these projects first step is research and here Mr Google reigns supreme – especially for two such well known and beloved franchises.
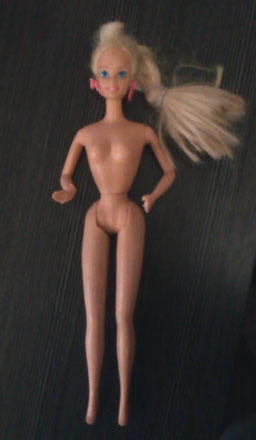
Next was sourcing the second hand Barbie doll from an op shop (Kudos and thanks to RedMonkey! 😀
She arrived sans-clothes, and with both hands/fingers gnawed upon. There were also what looked like stab wounds from what I would guess would be a compass or some such stabby implement.
The first step involved a quick hair cut (Sporty!) removal of giant, pink earrings (Although tempting as it was to give the Borg Queen such extravagant bling – these too had been gnawed upon and were beyond saving) The final step here was to score out with a craft knife where I wanted her head to come off – after all, have to get inside to do a proper assimilation job 😉
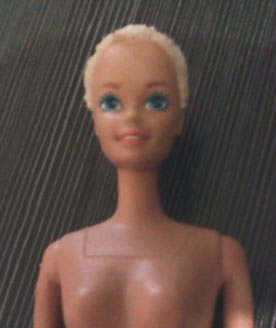
Originally I had hoped to be able to cleanly slice through the plastic with brand new scalp blades but the plastic proved to be Tonka tough. This required some serious dremeling (Of course only after some scalp-blade-snapping swearing. The good news been there was no blood drawn! 🙂)
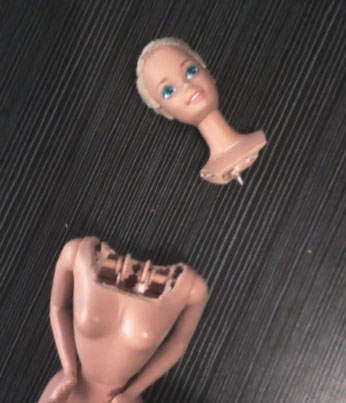
Decapitating just wasn’t bad enough – next step … lobotomy!
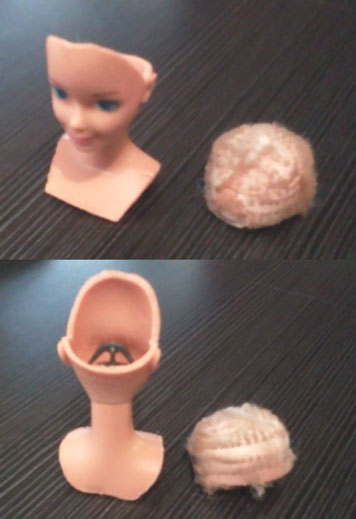
Back inside the body, it was time to remove the arms. I wanted to retain the shoulder articulation and luckily some careful scalpling, dremeling, and filing gave me this result.
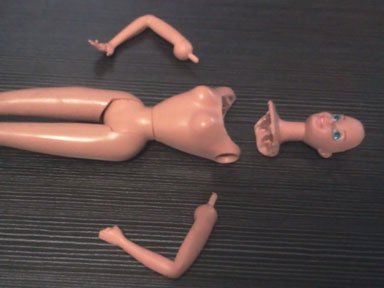
Now we are getting somewhere – with all the parts separated it is back to the reference material to draw out the shapes that I will be sculpting next (It was disturbing that even in this dissected form Barbie still looks happy!)
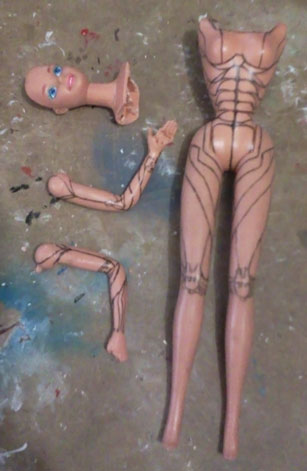
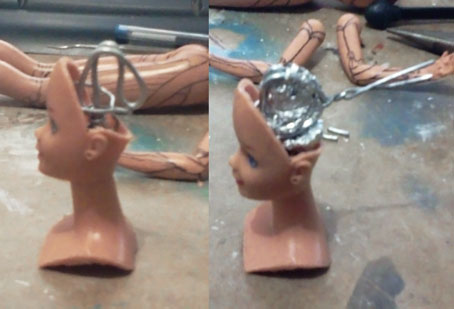
Preparing the skull with a wire armature.
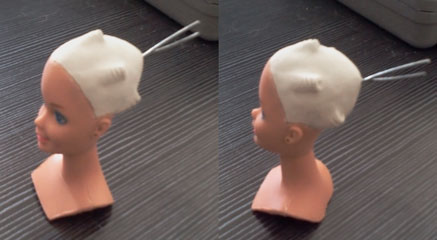
The Sculpey skull piece. I made the above wire armature hook into the plastic so I could easily sculpt and then remove it for baking.
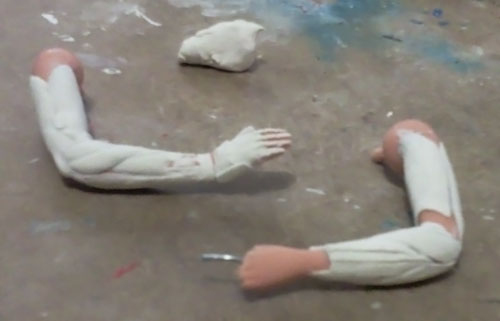
Next up, I began work on the arms and hands reconstruction. Here I used Sculpey with the boiling method.
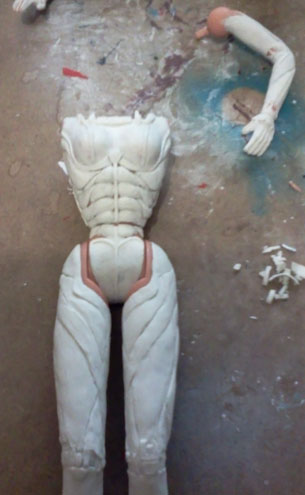
… and then continued to the body. I had to be very careful with the legs since they are made of rubber instead of plastic, so there were a few times, through handling, the Sculpey would crack and fall off.
To help with the above ‘rubber leg’ problem I ended up coating some areas in polyurethane. Unfortunately, this meant losing some detail but at least she didn’t have bits falling off!
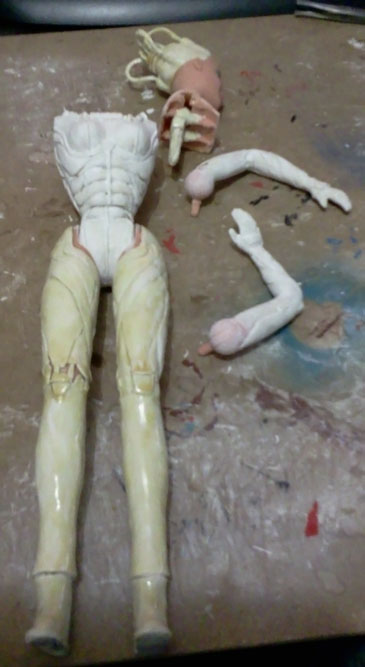
Base paint layer.
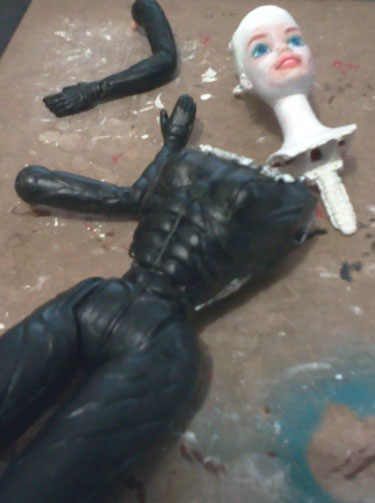
Some paint detailing.
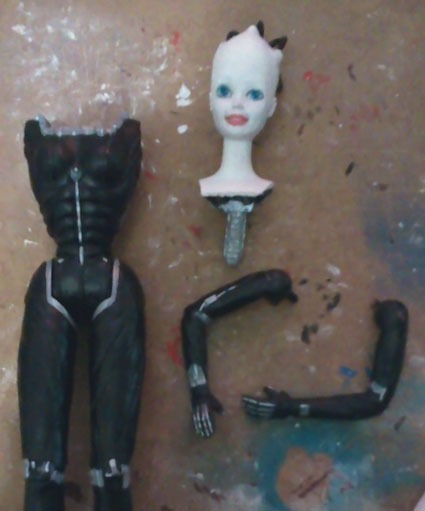
At this point, I took a break to design up and build some packaging.
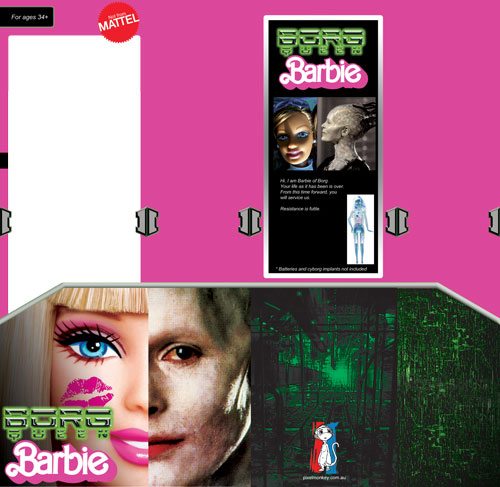
Had a lot of fun with this!
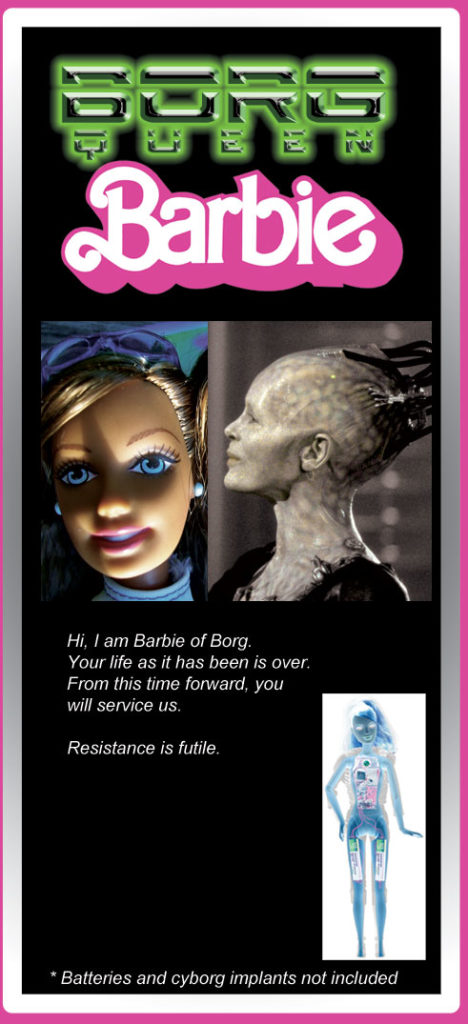
Test prints to make sure everything is going to line up ok.
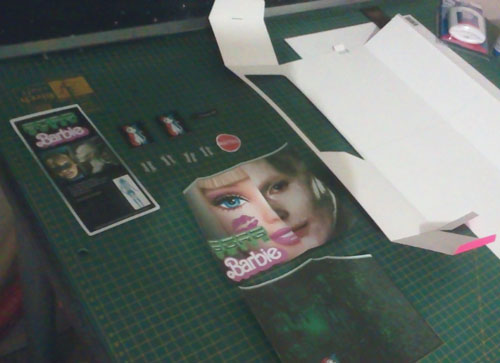
Building the box.
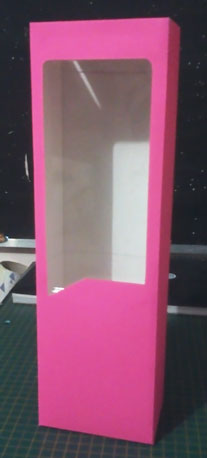
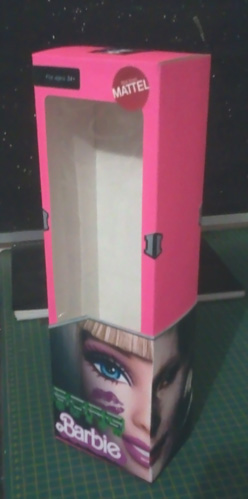
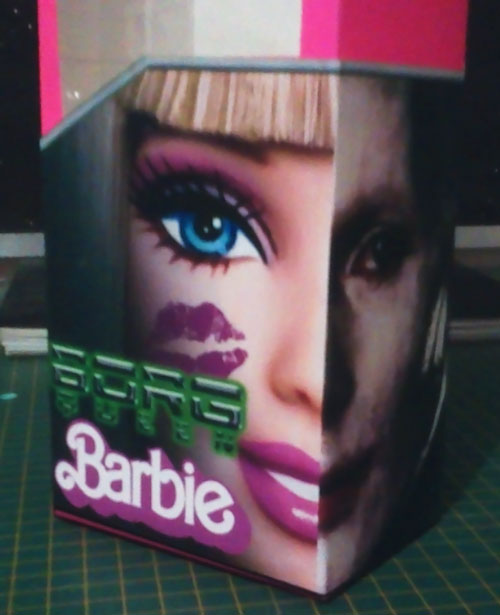
And here she is – ready for posting to RedMonkey!
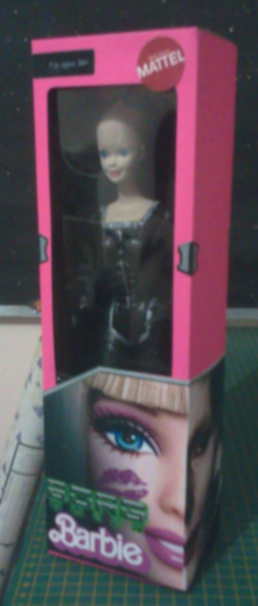
… and on the other end RedMonkey was kind enough to take some awesome photos 😀
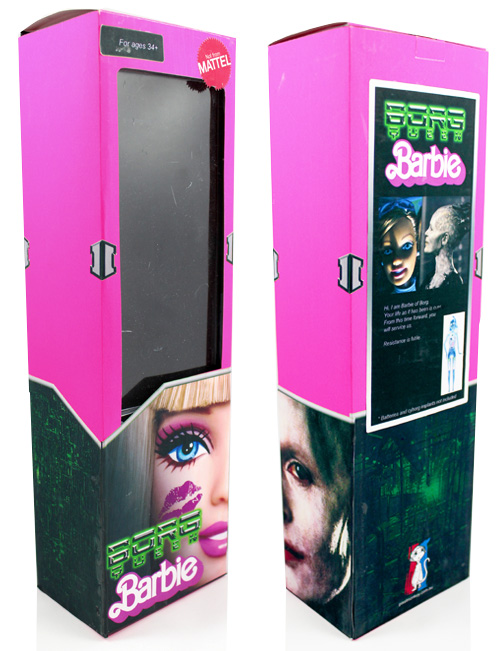
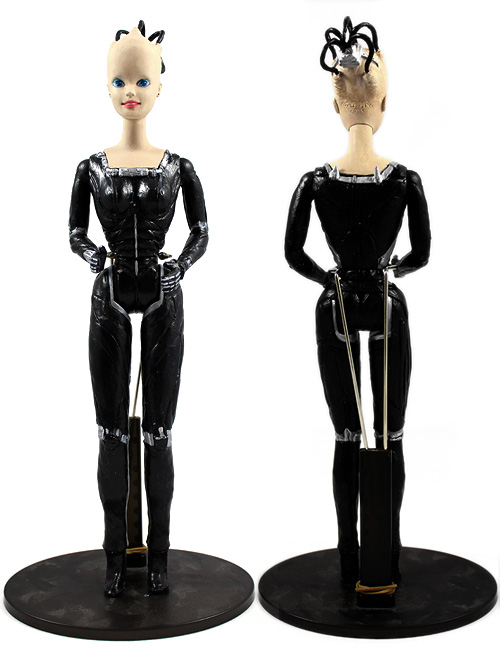
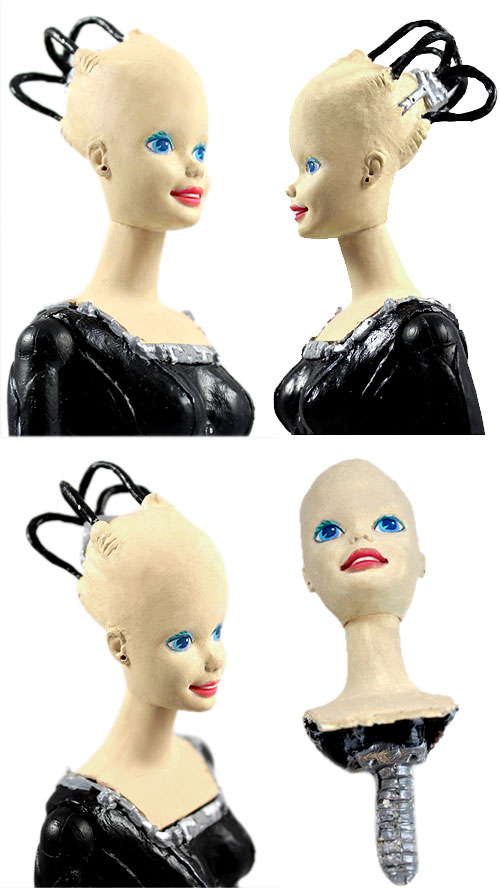
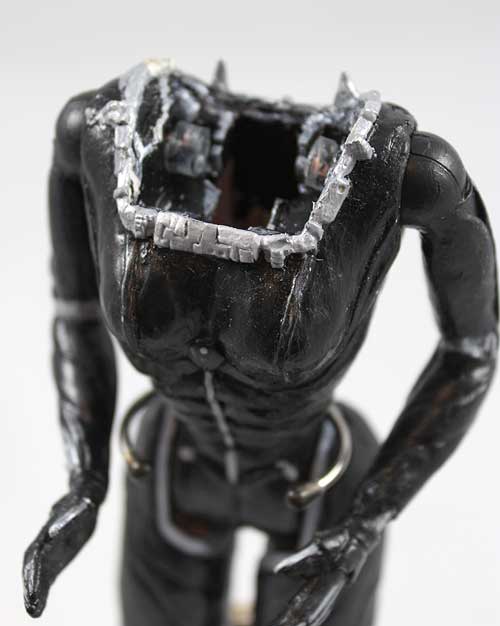
Overall this was a really fun project and opens up the doors to all sorts of other crazy ideas!! … who knows what toys will be assimilated next?
Resistance is futile!
