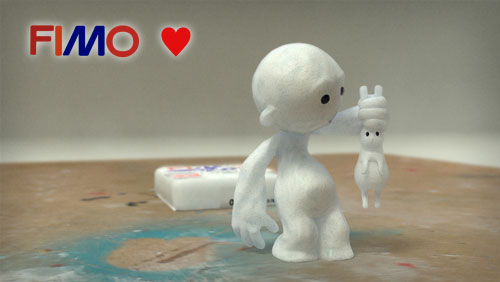
A 30 second, animated film made for the “Make It! A Tale of Creative Inspiration” run by the Creative Industries Innovation Centre (CIIC), STAEDTLER Fimo and the University of Technology Sydney.
The competition was screened and judged as part of the Sydney International Animation Festival 2010.
Making Of
[Sketches]
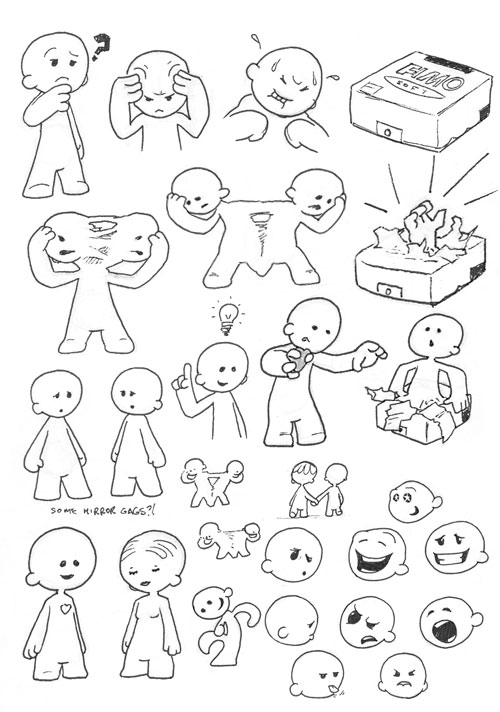
I started by roughing out several story ideas in my visual diary. Originally I wanted to do a cute love story where the main character (Guy) finds a girl and has to build her a heart by taking out his own to share, but the 30 second time limit just wasn’t long enough to tell that story in. Plus an additional character would have made it even more difficult to get everything done within the tight time limit.
[Fimo Reference]
The next step was to go out and purchase a block of white, soft Fimo polymer clay (Eg the competition required I use “FIMO products as its primary material and engages in the craft of animation.”)
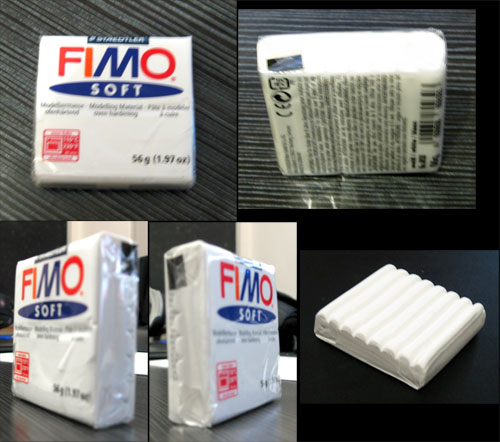
I quickly discovered that it is almost impossible to get good reference photographs of white polymer clay. Of course, that may have more to do with my dubious photography skills and consumer level equipment ;P
I did actually end up spending a lot of time just looking at the clay. Seeing how light is scattered within it and how the specular highlights behave. It is a very interesting material!
[Building Character Maquette]
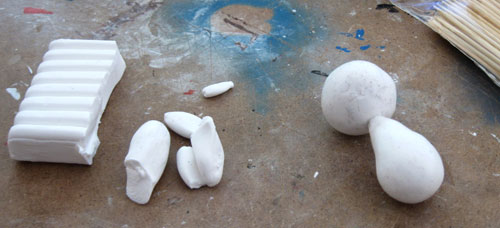
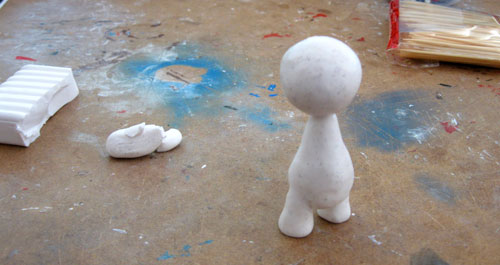
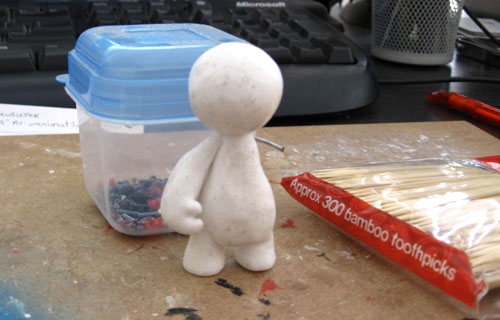
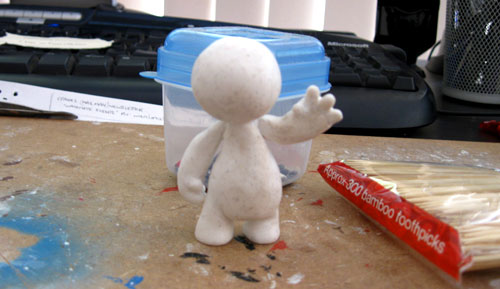
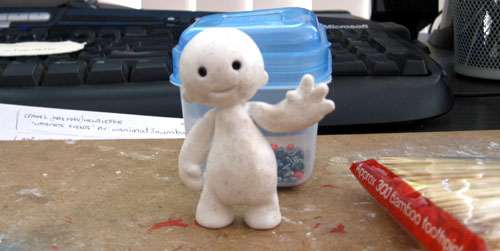
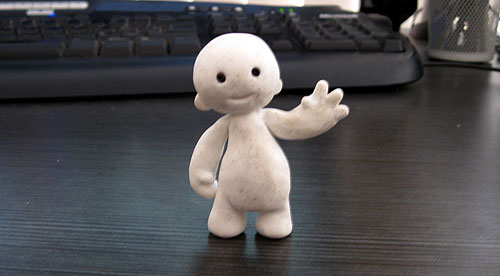
Originally I did consider producing the film as stop motion. Unfortunately, I just didn’t have the facilities, time, or equipment available to do that. So my plan became to model up the character in real Fimo clay, photograph him, rebuild him in the computer in 3D, and then animate him all digitally. I planned to add film grain, depth of field, and flickering in post-production – to retain the stop motion feel.
[3D Modeling]
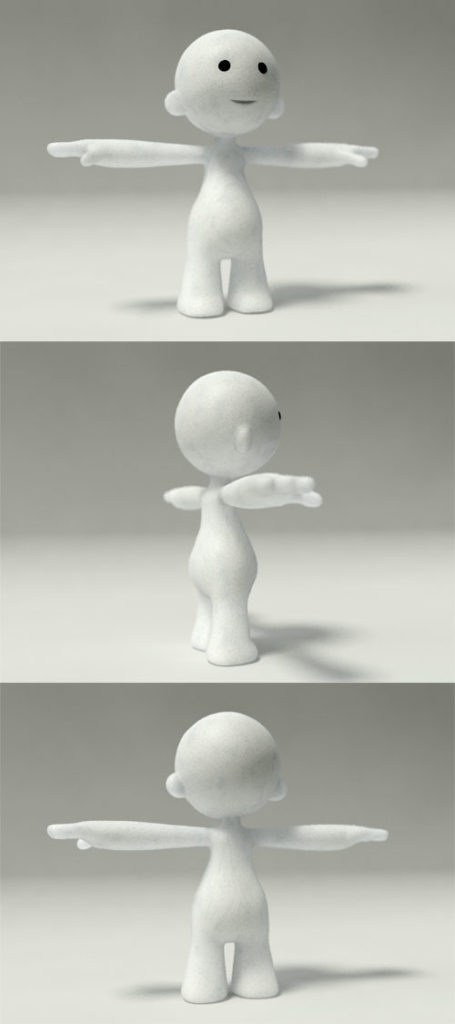
The actual 3D modelling of the character was fairly quick, almost completed in a single evening, with only a few tweaks here and there during rigging.
[Surface Development]
Probably the most important (And most interesting to me) stage was the development of the character’s surface. Fimo clay scatters a lot of light internally so I had to work with a Sub-Surface Scattering (SSS) material. I’ve made SSS materials before for characters skin and flesh, but polymer clay is particularly difficult to capture. It took me several days to refine it to something I was happy with.
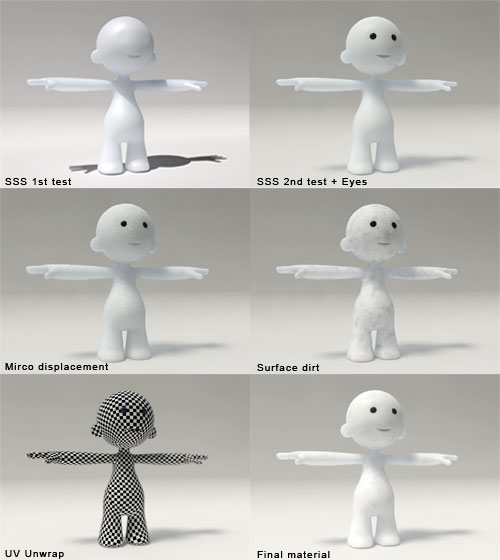
Note: When I’m working with polymer clay I always seem to pick up bits of dirt and hair – it is very difficult to keep the clay clean. So I decided to add some dirt to the final material 😀
[3D Packaging]
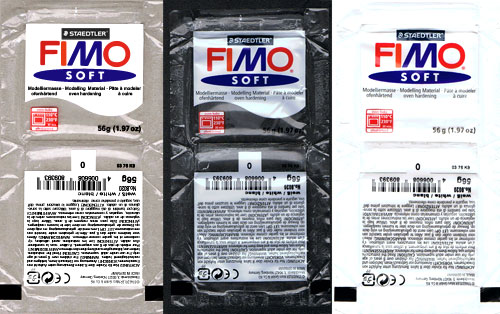
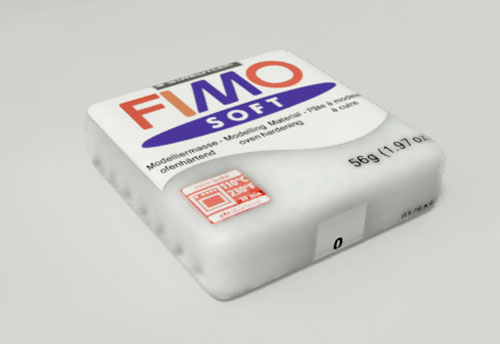
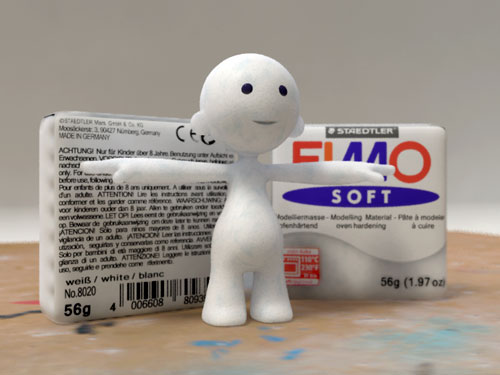
After building the character I moved on to the Fimo packaging. For this, I had very carefully unwrapped the real plastic packaging. Unfortunately scanning the mostly transparent plastic was difficult (I tried it on several different backgrounds) Eventually I got a good enough scan to use as reference and I rebuilt the packaging in Photoshop (Even down to all the writing on the back of the pack – there is A LOT of text on there!!)
[3D Props]
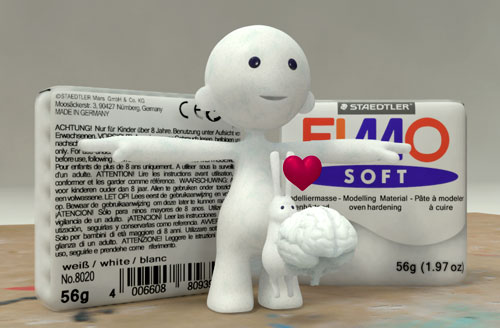
With the character, Fimo pack, and workboard (The workboard is a simple plane with a texture I scanned from my real work board – stained and marked from several years of making stuff) all that was left were the props. The bunny, brain, and heart were all made quickly within a day or two.
[Facial Setup]
The character’s facial setup was a lot of fun. I knew I would need an extreme mouth opening when I was modelling him, so I made sure there wasn’t too much geometry and that it was in the right place.

[Plastic Cloth Ripping Tests]
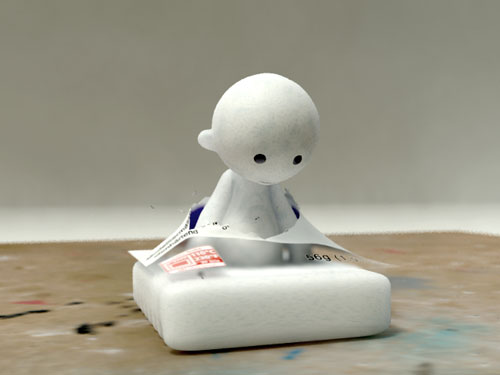
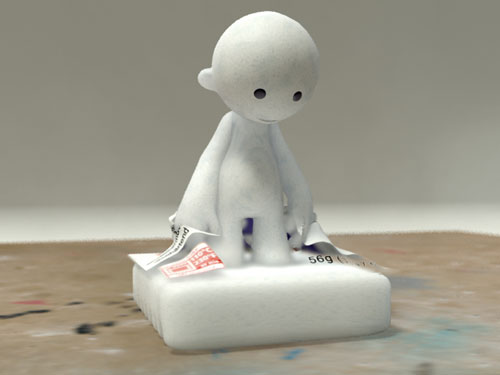
I used cloth to simulate the tearing plastic at the beginning of the film. I had not done a lot of cloth simulation before and found it quite interesting even though it did take A LOT of trials getting it tearing just right without too many fragments breaking off or parts getting caught on the character.
[Animation]
Finally, with all the pieces in place (And only two weeks until the film was due) I started the animation stage. The actual character animation was pretty rushed – with all of it been done over three consecutive evenings. I didn’t worry about making things too smooth since I wanted to retain the stop motion look – still, it would have been nice to spend more time animating 😉
[Rendering and Compositing]
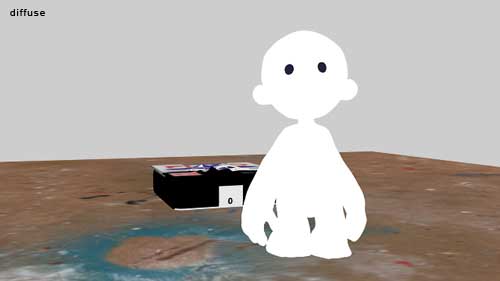
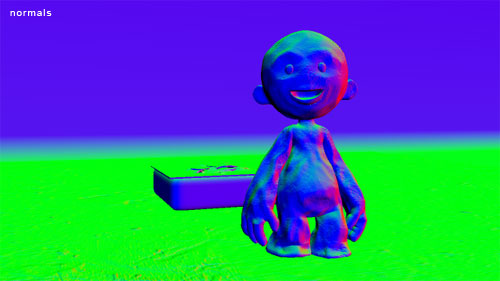
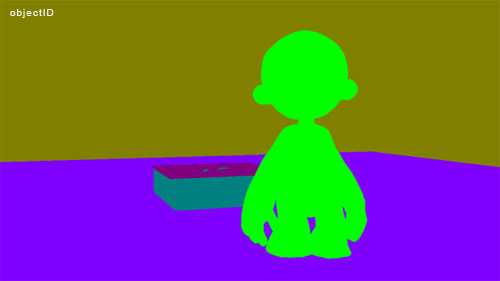
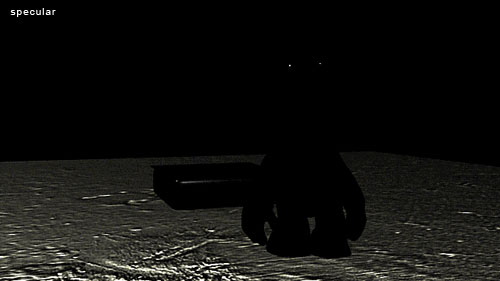
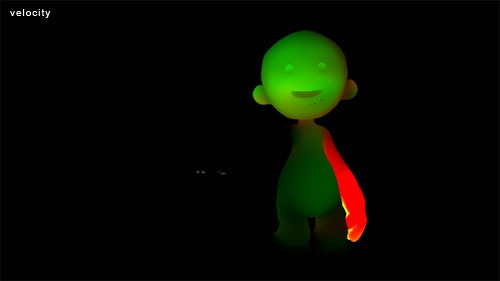
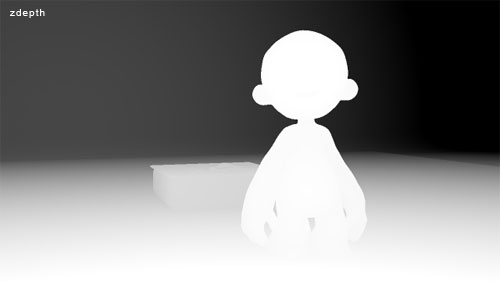
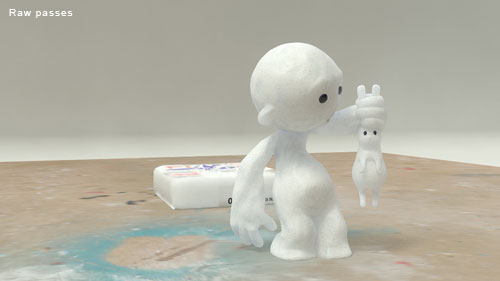
Rendering was always going to be a long process – mostly due to the characters SSS material being lit by HDRI lighting. I broke the scene into several passes for rendering. The character’s SSS material caused a lot of problems with flickering so I rendered progressively better qualities for the frames with the worst flickering. The longest single pass renders were around 15 minutes per frame!


[Final Effects and Grading]
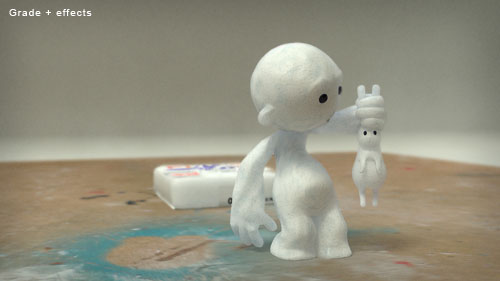
The final stage of adding depth of field, grain, flicker, lighting effects, titles, and colour grading was actually a lot of fun!
[Sound]
The sound mix was something that really was super rushed. Completed only a day before submitting the film. I may look at redoing this later 😉
[Some of my other polymer clay characters]
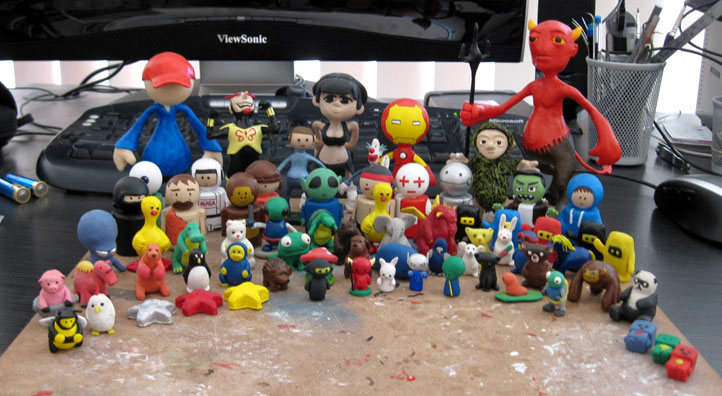
For anyone interested in character work – either design/development, concept art, illustration, and/or 3D modelling – I would highly recommend going out and getting some polymer clay and have a go at creating your own characters and models! 😀
